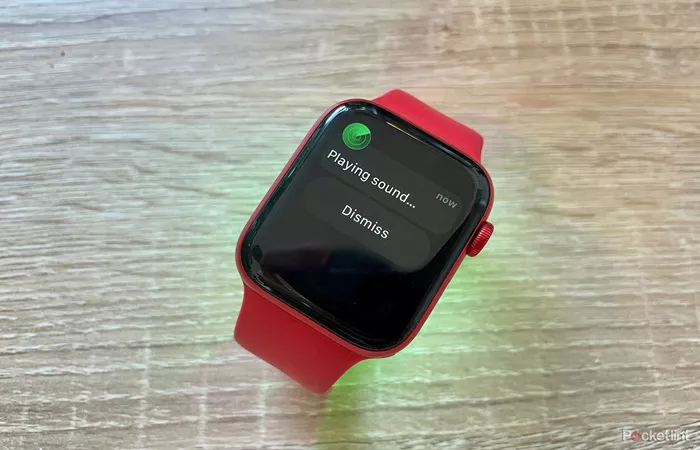
The Apple Watch Series 9 comes equipped with a range of innovative features, one of which is the ability to make remote payments directly from your wrist. This makes it not only a stylish accessory but also a powerful tool for managing your finances on the go. Whether you’re grabbing a coffee or paying for groceries, your Apple Watch Series 9 can provide a seamless payment experience. This guide will walk you through how to set up and make remote payments on your Apple Watch Series 9.
What Is Remote Payment on Apple Watch?
Remote payments refer to the ability to make payments without the need for physical cards or cash. On the Apple Watch Series 9, this is primarily done through Apple Pay, Apple’s secure and easy-to-use payment system. With Apple Pay, you can link your credit, debit, or prepaid cards to your Apple Watch and pay with a simple tap.
Setting Up Apple Pay on Your Apple Watch Series 9
Before making payments remotely, you first need to set up Apple Pay on your Apple Watch Series 9. Follow these steps:
1. Ensure Compatibility
Make sure your Apple Watch Series 9 is paired with an iPhone running iOS 16 or later.
2. Add Cards to Your Apple Wallet
To use Apple Pay, you need to add your payment cards to the Apple Wallet on your paired iPhone. Open the Wallet app, tap the “+” sign, and follow the prompts to add your credit or debit card. Once this is done, you can sync your payment methods with your Apple Watch.
3. Enable Apple Pay on Your Apple Watch
On your paired iPhone, open the Apple Watch app, then tap My Watch. Scroll down to Wallet & Apple Pay and toggle the switch to enable Apple Pay on your Apple Watch.
How to Make Payments Using Your Apple Watch Series 9
Once your Apple Watch is set up for Apple Pay, making payments is quick and easy. Here’s how:
1. Double-Click the Side Button
To begin the payment process, double-click the side button on your Apple Watch. This brings up your default payment card.
2. Choose the Right Card
If you have multiple cards linked to your Apple Watch, swipe left or right to select the card you wish to use for the transaction.
3. Hold Your Watch Near the Payment Terminal
Hold your Apple Watch close to the payment terminal’s contactless reader. You will feel a slight tap, indicating that the payment has been processed. A green checkmark will appear on your screen to confirm the transaction.
Tips for Secure and Fast Payments
While making remote payments with your Apple Watch is convenient, there are some tips you can follow to ensure security and a smooth experience.
1. Use Wrist Detection
Ensure that wrist detection is turned on for added security. This feature prevents unauthorized payments by requiring you to wear your watch securely on your wrist. If it’s removed, the watch will lock itself automatically, preventing anyone else from making payments.
2. Enable Passcode
Set up a passcode on your Apple Watch for extra protection. This adds another layer of security, ensuring that only you can authorize transactions.
3. Activate Express Transit Mode
For public transportation, you can enable Express Transit Mode. This feature allows you to make payments without needing to double-click the side button. It’s perfect for quick taps at transit stations.
Troubleshooting Remote Payments on Apple Watch Series 9
If you encounter any issues while making remote payments, here are some common solutions:
1. Check Apple Watch and iPhone Connection
Ensure that your Apple Watch and iPhone are properly connected. If there’s a connection issue, payments may not go through.
2. Re-add Cards to Apple Wallet
If payments are not going through, try removing your payment cards from the Wallet app and then adding them back.
3. Software Updates
Ensure that both your iPhone and Apple Watch are running the latest software updates, as bugs can sometimes affect Apple Pay functionality.
Benefits of Using Apple Watch Series 9 for Remote Payments
There are several advantages to using your Apple Watch for remote payments:
1. Convenience
Making payments with your Apple Watch is extremely convenient. You don’t need to take out your wallet or phone, making the process quicker and more efficient.
2. Security
Apple Pay is known for its security features, including tokenization and encryption, which makes it safer than using a physical card.
3. Widely Accepted
Apple Pay is accepted at millions of locations worldwide, from retailers to online stores, making it a versatile payment solution.
Other Payment Features on Apple Watch Series 9
The Apple Watch Series 9 offers more than just remote payments. Here are a few additional features you might find useful:
1. Apple Cash
Apple Cash allows you to send and receive money directly from your Apple Watch, making it easy to split bills or pay friends and family.
2. In-App Purchases
You can also use your Apple Watch to make in-app purchases. Simply authorize the purchase with a tap of your wrist.
3. Transaction History
Track your payment history directly on the Apple Watch. Simply open the Wallet app and view recent transactions for complete transparency.
Conclusion
Making remote payments on the Apple Watch Series 9 is a simple and secure way to handle transactions on the go. By following the steps to set up Apple Pay, ensuring your watch is secure, and using the many payment features available, you can make your life more convenient and modern. Whether you’re paying for a coffee, catching a bus, or buying something online, your Apple Watch is a powerful tool for managing payments.
Related Topics:
What is the Best Apple Watch to Purchase?

