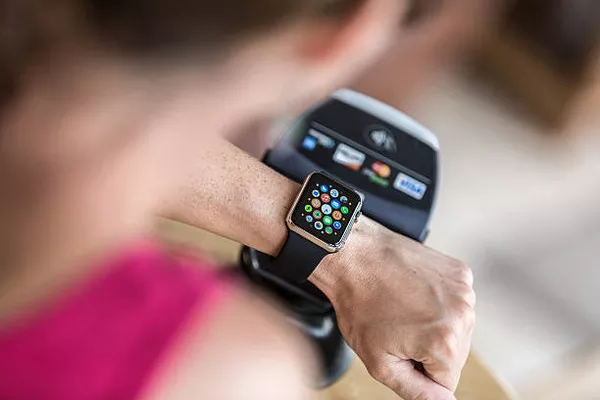
The Apple Watch is known for its advanced health monitoring features, and one of its standout capabilities is the blood oxygen monitoring function. This feature can provide crucial insights into your overall health by measuring the oxygen saturation in your blood. This article will guide you through the process of checking your blood oxygen levels on your Apple Watch, providing a comprehensive and detailed look at each step involved.
Understanding Blood Oxygen Monitoring
Blood Oxygen Monitoring Overview
Blood oxygen monitoring measures the percentage of oxygen in your blood, known as SpO2. This metric is vital for assessing how well your lungs and heart are functioning. A normal blood oxygen level typically ranges from 95% to 100%. Levels below this range may indicate health issues that require medical attention.
Apple Watch Models with Blood Oxygen Monitoring
The blood oxygen monitoring feature is available on the Apple Watch Series 6 and later models. If you have an Apple Watch Series 5 or earlier, you will not have access to this feature. Make sure your watch model supports this functionality before proceeding.
Setting Up Blood Oxygen Monitoring
1. Update Your Apple Watch
Ensure that your Apple Watch is running the latest version of watchOS. To check for updates:
- Open the Watch app on your paired iPhone.
- Go to General > Software Update.
- If an update is available, follow the on-screen instructions to download and install it.
2. Enable Blood Oxygen Monitoring
You may need to set up the Blood Oxygen app if it’s not already installed:
- On your Apple Watch, press the Digital Crown to access the App Grid or App List.
- Look for the Blood Oxygen app. If it’s not present, you may need to download it from the App Store on your watch or iPhone.
- Open the Watch app on your iPhone.
- Tap on My Watch > Blood Oxygen.
- Make sure the Blood Oxygen app is enabled.
Using the Blood Oxygen App
1. Access the Blood Oxygen App
To check your blood oxygen levels:
- On your Apple Watch, press the Digital Crown to access the App Grid or App List.
- Find and tap on the Blood Oxygen app.
2. Perform a Measurement
Follow these steps for an accurate measurement:
- Ensure that the watch is snug on your wrist, just above your wrist bone.
- Sit still and rest your arm on a table or in your lap. Keeping your arm still helps in getting a precise reading.
- Tap Start on the Blood Oxygen app.
- The watch will use red and infrared light to measure your blood oxygen levels. This process usually takes about 15 seconds.
- The measurement will automatically start, and you will see a progress indicator on the screen.
3. View Results
Once the measurement is complete:
The result will be displayed on your watch screen as a percentage.
You can review historical data in the Health app on your iPhone. To do this:
- Open the Health app on your iPhone.
- Tap Browse > Respiratory > Blood Oxygen.
- Here, you will see graphs and trends of your blood oxygen levels over time.
See Also: How to Check Apple Watch Battery Health
Troubleshooting and Tips
1. Ensure Proper Fit
For accurate measurements, the watch must be properly fitted. If the watch is too loose or too tight, it may affect the accuracy of the readings. Adjust the strap so it fits snugly on your wrist.
2. Check Sensor Cleanliness
Ensure that the sensors on the back of your Apple Watch are clean. Dirt or sweat can interfere with the readings. Wipe the back of the watch gently with a clean, dry cloth.
3. Environmental Factors
Extreme temperatures or high altitudes can affect the accuracy of the readings. Try to take measurements in a stable environment.
4. Regular Updates
Keep your Apple Watch updated to benefit from the latest improvements and fixes related to the Blood Oxygen app.
Interpreting Blood Oxygen Levels
Normal Levels
A normal blood oxygen level typically ranges between 95% and 100%. Levels in this range indicate that your body is getting a sufficient supply of oxygen.
Low Levels
Levels below 95% may indicate a potential issue with your respiratory or cardiovascular system. If you consistently get low readings, it’s advisable to consult a healthcare professional for further evaluation.
High Levels
While it is rare, readings consistently above 100% may be due to the calibration settings or an issue with the sensor. Recalibrate your watch or consult Apple Support if you encounter this problem.
Conclusion
Checking your blood oxygen levels with an Apple Watch is a straightforward process that can provide valuable insights into your health. By following the steps outlined in this article, you can ensure that you are using the feature effectively and understanding the results accurately.
Remember, while the Apple Watch provides helpful health data, it should not replace professional medical advice. Regular check-ups and consultations with healthcare providers are essential for maintaining overall health.

