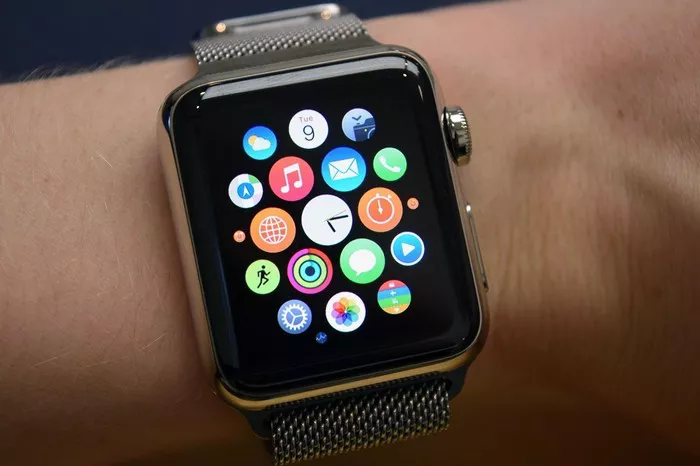
In the ever-evolving landscape of wearable technology, the Apple Watch stands out as a quintessential companion for modern living. With its array of features designed to enhance productivity, fitness tracking, and communication, the Apple Watch has become an indispensable tool for millions worldwide. One of its most coveted features is cellular connectivity, which enables users to stay connected even when they’re away from their iPhone. In this comprehensive guide, we’ll walk you through the process of activating and managing cellular service on your Apple Watch, ensuring that you harness the full potential of this cutting-edge device.
Activate Cellular Service
Activating cellular service on your Apple Watch is a straightforward process that can be accomplished directly from your iPhone:
- Open the Apple Watch app on your iPhone.
- Navigate to the “My Watch” tab and select “Cellular”.
- Follow the on-screen instructions to familiarize yourself with your carrier service plan and activate cellular service for your Apple Watch.
For detailed step-by-step guidance, refer to Apple’s official support article on the subject.
Transfer an Existing Cellular Plan
If you’re upgrading to a new Apple Watch but wish to retain your existing cellular plan, the process is seamless:
- Wear your cellular-enabled Apple Watch and open the Apple Watch app on your iPhone.
- Access the “My Watch” tab, followed by “Cellular”, and select the option corresponding to your cellular plan.
- Tap “Remove [Carrier Name] Plan” to dissociate the plan from your previous device.
- Afterward, simply put on your new cellular-enabled Apple Watch, open the Apple Watch app, and follow the instructions to activate your cellular network.
Turning Cellular On or Off
The cellular functionality of your Apple Watch intelligently switches between available network connections to ensure optimal performance:
- To conserve battery life or control data usage, you can manually toggle cellular connectivity on or off.
- Press the side button on your Apple Watch to access Control Center.
- Tap the cellular icon to enable or disable cellular connectivity. When connected to a cellular network and your iPhone is out of range, the icon will turn green.
It’s worth noting that leaving cellular enabled for extended periods may impact battery life, and certain applications may require a connection to your iPhone for updates. Refer to Apple Watch battery information for additional insights.
See Also: How To Turn On Assistive Touch On Apple Watch
Checking Cellular Signal Strength
Ensuring a strong cellular signal is crucial for uninterrupted connectivity:
- The Explorer watch face provides visual cues of cellular signal strength through green dots. Four dots indicate an excellent connection, while a single dot signifies a weaker signal.
- Alternatively, swipe up to access Control Center on your Apple Watch, where the green bar at the top indicates the status of your cellular connection.
- Consider adding the cellular feature to your preferred watch face for quick access to signal strength information.
Monitoring Cellular Data Usage
Staying informed about your data consumption helps you manage your usage effectively:
- Navigate to the Settings app on your Apple Watch.
- Select “Cellular” and scroll down to view your data usage for the current billing period.
By regularly monitoring your data usage, you can avoid exceeding your plan’s limits and potentially incurring additional charges.
In conclusion, activating and managing cellular service on your Apple Watch empowers you with the freedom to stay connected, regardless of your proximity to your iPhone. By following these steps and leveraging the myriad features of your Apple Watch, you can unlock a new realm of convenience and productivity in your daily life.

